First program
In this chapter, we will be reviewing our first program. It is not even really related to computer vision, but it will help you get started with some basic tools that will be used again later and get familiar with the tutorial process. We will just be loading an image, drawing random points on it, and displaying it. This is very basic, but at least you can make sure you have everything set up correctly before attacking more ambitious problems.
Running the program
In order to start, we will clone the Rust CV mono-repo. Change into the repository directory. Run the following:
cargo run --release --bin chapter2-first-program
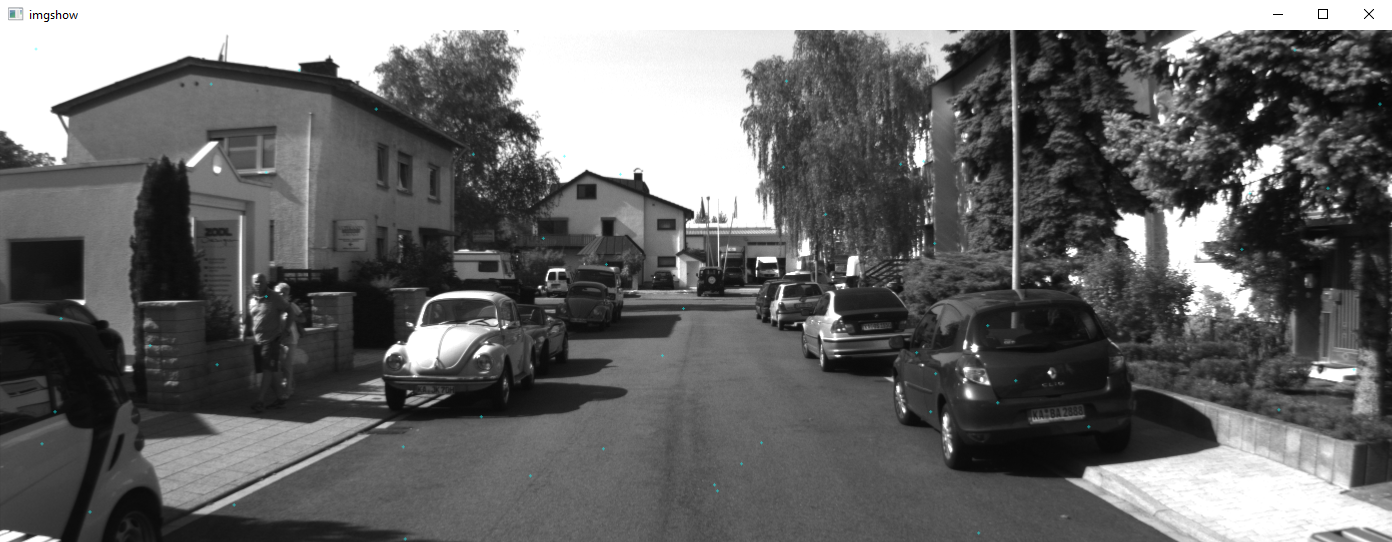
You should see a grayscale image (from the Kitti dataset) with thousands of small blue translucent crosses drawn on it. If you see this, then everything is working on your computer. Here is what it should look like:
We are now going to go through the code in tutorial-code/chapter2-first-program/src/main.rs piece-by-piece. We will do this for each chapter of the book and its relevant example. It is recommended to tweak the code in every chapter to get a better idea of how the code works. All of the code samples can be found in tutorial-code. We will skip talking about the imports unless they are relevant at any point. Comments will also be omitted since we will be discussing the code in this tutorial.
The code
Load the image
#![allow(unused)]
fn main() {
    let src_image = image::open("res/0000000000.png").expect("failed to open image file");
}
This code will load an image called res/0000000000.png relative to the current directory you are running this program from. This will only work when you are in the root of the Rust CV mono-repo, which is where the res directory is located.
Create a random number generator
#![allow(unused)]
fn main() {
    let mut rng = rand::thread_rng();
}
This code creates a random number generator (RNG) using the rand crate. This random number generator will use entropy information from the OS to seed a fairly robust PRNG on a regular basis, and it is used here because it is very simple to create one.
Drawing the crosses
#![allow(unused)]
fn main() {
    let mut image_canvas = drawing::Blend(src_image.to_rgba8());
    for _ in 0..5000 {
        let x = rng.gen_range(0..src_image.width()) as i32;
        let y = rng.gen_range(0..src_image.height()) as i32;
        drawing::draw_cross_mut(&mut image_canvas, Rgba([0, 255, 255, 128]), x, y);
    }
}
This section of code is going to iterate 5000 times. Each iteration it is going to generate a random x and y position that is on the image. We then use the imageproc::drawing module to draw a cross on the spot in question. Note that the image_canvas is created by making an RGBA version of the original grayscale image and then wrapping it in the imageproc::drawing::Blend adapter. This is done so that when we draw the cross onto the canvas that it will use the alpha value (which we set to 128) to make the cross translucent. This is useful so that we can see through the cross a little bit so that it doesn't totally obscure the underlying image.
Changing the image back into DynamicImage
#![allow(unused)]
fn main() {
    let out_image = DynamicImage::ImageRgba8(image_canvas.0);
}
We now take the RgbaImage and turn it into a DynamicImage. This is done because DynamicImage is a wrapper around all image types that has convenient save and load methods, and we actually used it when we originally loaded the image.
Write the image to a temporary file
#![allow(unused)]
fn main() {
    let image_file_path = tempfile::Builder::new()
        .suffix(".png")
        .tempfile()
        .unwrap()
        .into_temp_path();
    out_image.save(&image_file_path).unwrap();
}
Here we use the tempfile crate to create a temporary file. The benefit of a temporary file is that it can be deleted automatically for us when we are done with it. In this case it may not get deleted automatically because the OS image viewer will later be used and it may prevent the file from being deleted, but it is good practice to create temporary files to store image.
After we create the temporary file path, we write to the path by saving the output image to it.
Open the image
#![allow(unused)]
fn main() {
    open::that(&image_file_path).unwrap();
    std::thread::sleep(std::time::Duration::from_secs(5));
}
We use the open crate here to open the image file. This will automatically use the program configured on your computer for viewing images to open the image. Since the image program does not open the file right away, we have to sleep for some period of time to ensure we don't delete the temporary file.
End
This is the end of this chapter.